Thinking about upgrading your PC or laptop but wondering about the features and capabilities of your model? Getting it right can be difficult. This can be a very confusing task for both beginners and experts.
In this article I’ll be Covering topic “How to Check Computer Specs & Find Your CPU, GPU, Motherboard, & RAM”
Not just for PC upgrades, knowing your computer’s specs such as CPU, GPU, motherboard, and RAM will help you determine CPU compatibility with that technology and buy the best one to meet your requirements. . So here it will help you to get some basic guidelines to check the functionality of your model.
Before going straight into the process, you should have a basic knowledge of these features, what they are and how they work.
If you want to understand one of them, there are many computer specs you should have first. You need to understand some basics related to processors (CPUs), graphics cards (GPUs), motherboards, and RAM. So let’s take a look at them one by one and see how to find out more about each model.
Table of Contents
How to Check Computer Specs
1. Processor ( CPU)
The processor is considered the brain or heart of the system. The central processing unit, processor or microprocessor, acts as the head that controls all hardware and software functions. The processor is in a socket on the motherboard
IPO is considered the main task of the CPU and also controls the tasks of the system. Since this is the most important specification of a computer, you should have a basic knowledge of CPUs and understand the types of CPUs in your computer.
Knowing your intentions can help you in many ways, such as upgrading your computer, buying a new one, or checking the requirements of your desired job. So you need to know your device’s processor. You can help check this on your system by:
How to Check Your CPU Specs (or Processor)
A. Checking in the Settings app
If you want to find out about your system’s processor (CPU) using the Windows 10 Settings app, follow these steps:
Open the system settings option.
- Click on the System option after About.
- See the “Device Specifications” section. To the right of the Processor, you’ll see the name of your computer’s processor.
If you are looking for another way to open the settings more directly and faster than the previous method, you can use the following method.
- You can quickly open the Settings app by pressing the Windows + I keys on your keyboard.
- Alternatively, type “about” in the Start menu and click the About this PC shortcut to quickly open the Settings app.
B. Checking through windows 10’s Task manager
Another way to see complete and detailed information about your computer’s processor is to use the Windows 10 Task Manager.
- Right-click on the system taskbar and select the Task Manager option.
- You will see an option that says “Performance“. Click.
- Then you will see an option that says “CPU“. Click to display the processor name and information used in the model.
You can also use the shortcut method in the same way. Press Ctrl+Shift+esc to automatically open Task Manager. You can also click More Details if you can’t find the Performance tab. Contains information about the processor and cores used.
C. Checking through Control Panel.
If you have a computer with Windows 7 and Windows 10, there are other ways to find out about your processor. You can find the method of the process listed below.
- Open the system control panel options.
- Click System and Security Options, then click System to access information about your processor (CPU).
- Alternatively, you can go directly to this page by pressing Windows + Pause.
2. Graphics Card – (GPU)
GPUs are dedicated to basic processing, including tasks such as rendering graphics and video. GPUs, best known for their ease of use in games, can also be applied in the areas of artificial intelligence and rendering. A GPU working to offload graphics is arguably one of the most wanted specs at the moment.
Most of the computers and devices we use today have integrated graphics, but they don’t all feel connected. You can also add GPUs later, depending on your requirements. So if you’re doing graphics work like rendering, editing, or Photoshop, you may need a good GPU on your device.
So you can check compatibility and status before upgrading or purchasing your son. You need to know your system’s GPU. This is a loss of some methodologies, including a list of ways GPUs can be tested.
How to check your GPU Specs?
A. Check through the Control Panel
- In your PC’s Start menu, type Device Manager and click to open Control Panel.
- There will be a dropdown arrow next to your video adapter and the name “GPU” will appear right there.
For more information about GPUs and their companies, right-click your GPU and select Properties. If you want to know more about which GPU you’re using, just google the name of the GPU you found earlier.
B. Checking through third-party app
If you want to know ahead of time or want more information about your computer’s GPU, you can use third-party applications. For example, let’s talk about Speccy. You can get the information you need by following these steps:
- Download and run the free version of Speccy.
- The sidebar has options to Display graphics. Click.
- Scroll down to see sub-supplier entries.
- This will give you the correct manufacturer information.
In this process, it is very difficult to know the exact model of your GPU. So, to know that your model requires a warranty claim or model name, you can check it after opening your PC. You can also check your receipt or email if other models don’t work.
C. Check through the system information
- You can also open the Start menu or go to the system search bar.
- Type “System Information” and click it.
- In the upper left corner next to “Components” is a + sign. Press here
- Then click the Display option in the expanded list.
You will see the name, type, and device of your video card.
D. Check through Directx Diagnostic tool
Checking your graphics card using the Directx diagnostic tool built into Windows is one reliable way to check your system’s GPU.
To use this method, type dxdiag in the desktop search bar and press Enter to run the command.
Then click on the Display tab that appears and you’ll see the graphics in use and the drivers your system is running.
3. Random Access Memory (RAM)
Ram (random access memory) is instantaneous, fast memory used in computers as super-fast storage used to store instant storage. Data and information stored in RAM are immediately used by the device’s processor. RAM is also the main memory of a computer system and is notorious for being fast.
Working with RAM is complicated because it is volatile memory and cannot store persistent information, so it must run continuously until the system is up and running. The more RAM your system has, the faster tasks will complete. Therefore, more RAM is required to run smoothly or to run certain applications.
You should pay attention to the amount of RAM installed in your system. Because it helps us understand your needs and make the right decisions. That’s why we’re here to help you out by providing a list of ways to check the available RAM on your PC.
How to Check Your RAM Specs?
- For Windows 10
- Open the settings option on your computer.
- Click About in the System option.
- In the device characteristics section, there is a line “Installed RAM”. This will show you the amount of RAM in your system.
Note. If you’re still using Windows 7, updating Windows is the best option. If you want to check your RAM, right-click your computer and click Properties. open The system
You will find installed memory in the system.
For MAC users, there is an easy way to check the installed RAM. Go to the apple icon in the upper corner of the screen. There is an “About this Mac” option. Clicking on it will give you information about the RAM used in the Summary tab.
4. Motherboard
Motherboards are also known as mobos, logic boards, or motherboards in mobo systems. This is a circuit board that can transfer information from different specifications. A connection point between many devices.
The main body motherboard is available in various sizes, shapes, and types according to the model and PC. So it is very difficult to connect one motherboard to another and maintain compatibility. Therefore, you should have a basic knowledge of what kind of motherboard the system is running on. Additionally, motherboard location, version, and compatibility are very important when upgrading your computer or buying a new one.
Various types of motherboards are available, such as ATX, EATX. So what do you need to know about them? Oftentimes, someone forgets the motherboard and its components in the PC, which can cause inconvenience. That’s why we present a list of ways you can check your motherboard.
How to Check Your Motherboard Specs?
- Check Windows system information
- Use the keyboard shortcut Windows + R to open the Run command.
- Type msinfo32 and press Enter on your keyboard.
Detailed information about the motherboard will appear on the screen.
A. Checking through a third-party software
If you are unable to check your computer’s motherboard using the other methods above, your best bet is to use third-party software. Many options are available, such as CPUZ, Hwinfo, and Speccy.
Applications such as CPU-Z should follow these steps:
- Download the program from the CPU-Z site
- Install the program and analyze the components.
- For more information on your motherboard, select the Motherboard tab.
B. Checking your motherboard physically
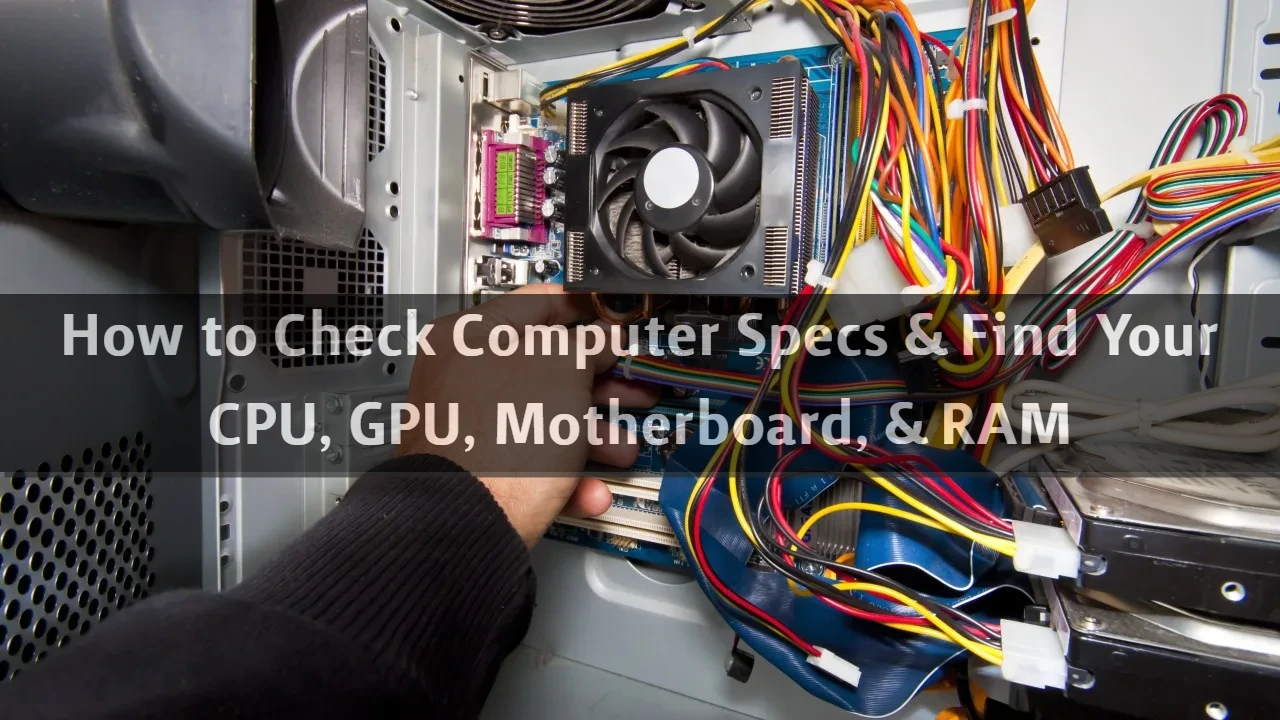
One of the most basic and easiest ways to find out what type of motherboard your system uses is to physically check and open your computer’s case.
This method is most practical when the software is not available and the motherboard is powered off. This method may not be practical enough for laptop users as its reliability has not been verified.
Physically, you need to know your model, as different models and brands have different motherboard locations. Motherboards are everywhere, in RAM slots, between the CPU and GPU, and under the GPU. The largest text may include details such as model, name, and type.
There are also motherboard parts in the box or package.
C. Checking through Command prompt
If you’re running Windows 10, check your system’s motherboard by following these steps:
- Type cmd in the search bar search menu and select the available options.
or
- You can open rn with Windows + R and search for cmd to open the command prompt.
- Enter the code “wmic baseboard get product, manufacturer, version,serialnumber“
Access information about the motherboard such as name, model, and version at the command line.
Checking in Linux
If you are using a Linux OS, you may need to follow other steps to check your motherboard information. You will need to open a terminal using CTRL+ALT+T on your PC and enter the commands shown below.
sudo dmidecode -t 2
Detailed information about the motherboard will be displayed on the screen as shown above.
Conclusion
Knowing the correct specs of a computer, such as GPU, CPU, Motherboard, etc., is very important for everyone. It doesn’t help you understand the model better, it also helps you better address future needs. Plan your requirements and check compatibility with your computer. The motherboard and CPU are the most important pieces of hardware for any computer, so you should know about them.
There are different ways to get information, so please understand your model and requirements to check correctly. If you still have questions about the “How to Check Computer” article, please contact us.
- 12 Best Budget Mini PCs in 2022 – Under $1000, $800, $600, & $400

- 7 Best PCs for 4K Gaming in 2022 (High-end, Mid-tier, Budget)
- How to Check Mouse DPI on Windows 10 and 11 [Explained in 2022]
- 8 Best CPU to Pair with RTX 2070 Graphics Card

- Experiencing Stuttering In Games? Here’s How to Fix Shuttering in Games 2022
- How to Move Games from SSD to HDD (Quick Methods #2022)


Recommendation: "How-Tos & Tips" to look at;

GPU Power Connectors – Difference Between 6-Pin, 8-Pin, and 12-Pin
How to Check RAM Type in Your Windows 10 And 11 (RAM Type DDR3 or DDR4)
TPU Vs GPU Vs CPU – Which One Should You Choose?
How To Fix The “NVIDIA Control Panel Missing” Problem?
FPS Limiter in Games Easily | How to Limit FPS (Frame Rate) in Games Easily|
How Long Do Power Supplies Last (PSU)? Comprehensive Guide By Mrwackadoo
How Long Do CPUs Last? What is the lifespan of a Modern Processors?